

Contact message templates
Set up your default message, save as many extra versions as you like, mark the ones meant for group texts, and pick between them when you reach out from Match & assign.
Every time you reach out to someone about a shift, Logidex writes the message for you. It fills in the date, the time, the city, the service and their name, so you are not retyping the same sentence forty times a week.
What it writes comes from a template. You get two to start with, you can change them, and you can save as many more as you want.
Where templates live
Customize → Contact → Contact message. Open that card and everything on this page is in front of you.
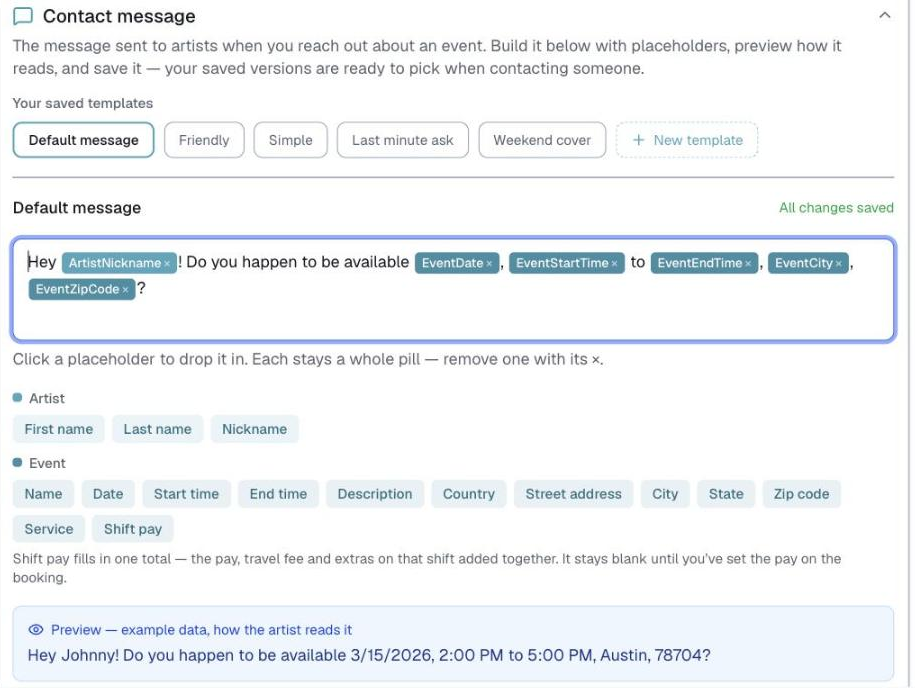
There is no Save button. Everything saves itself about a second after you stop typing, and the card tells you where it is up to: Unsaved changes…, then Saving…, then All changes saved.
The two you start with
Along the top of the card is a row of chips. That row is your whole library.
- Default message — the wording Logidex reaches for first, every time, unless you pick something else.
- Friendly — a warm, full-sentence ask. This is also what your Default message is set to on day one.
- Simple — a short one-liner for people who just want the facts.

⭐ Default message is a slot, not a template. Friendly and Simple are saved versions sitting in your library. The Default message is whichever wording gets loaded automatically when you go to contact somebody. They start out as the same words, which is why it is worth knowing they are two different things.
Changing your default message
- Go to Customize → Contact and open the Contact message card.
- Click the Default message chip at the top. It gets a colored outline when it is selected.

- Click into the message underneath and write what you want to say.

- Drop in the details you want filled in automatically by clicking the colored chips below the message. More on those next.
- Read the blue Preview panel at the bottom. That is how the message reads once the real details are filled in.

- Wait for All changes saved in the top right of the card. That is the whole save.
The placeholders
A placeholder is a slot Logidex fills in at the moment you contact someone. Click one of the colored chips and it drops into your message wherever your cursor is.
They come in two colors:
- Artist — first name, last name, nickname. Name options only. Logidex will not put somebody's email, phone or home address into an outreach message.
- Event — the date, start and end time, the city, state, zip, the event name, the description, the service they are being asked to do, and what the shift pays.

Each placeholder behaves as one solid pill in the message. You cannot half-delete one. Remove it with the small × on the pill.
Two things worth knowing:
⚠️ A placeholder whose field you have switched off will not fill in. If that happens, a yellow panel appears under the chips telling you which one and why. Either switch that field back on, or take the placeholder out of the message.
Saving an extra template
You are not limited to one. Save a version for weekend work, a version for last-minute asks, a version with the pay in it.
- In the Contact message card, click the dashed + New template chip at the end of the chip row.

- A template called New template appears and opens. Type over that name in the name field at the top so you will recognize it later. Names show up in a dropdown when you are contacting someone, so make it something you can pick at a glance.

- Write the message and drop in the placeholders you want.
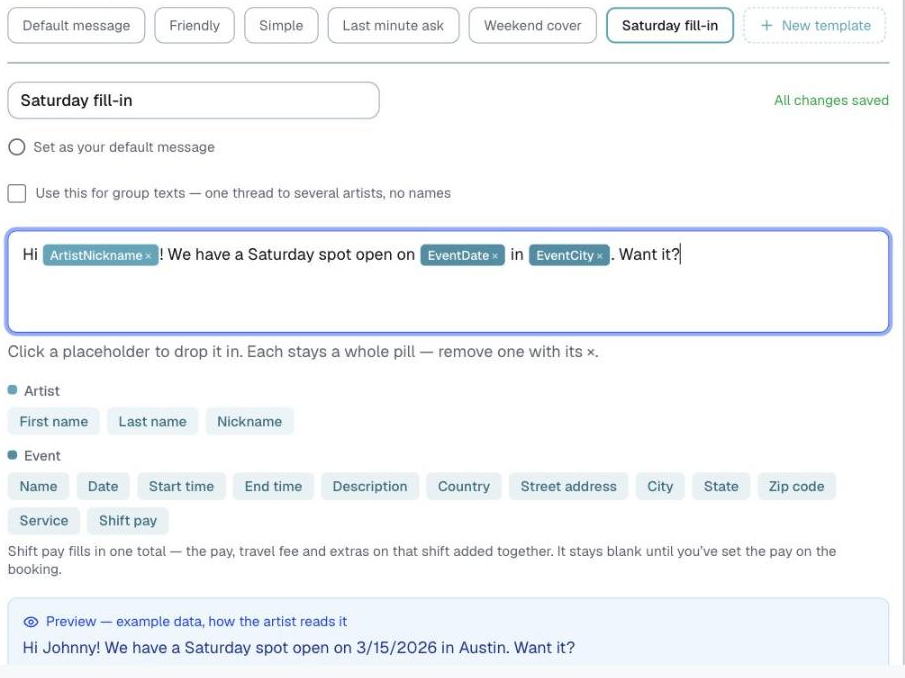
- Check the Preview panel, and wait for All changes saved.
That template is now a chip in the row, and it will be in the dropdown next time you contact somebody.
Making a saved template your default
With a saved template open, there is a small line under its name: Set as your default message. Click it and its wording is copied into the Default message slot. When it is already your default, that line reads This is your default message with a check beside it.

Deleting one
Open the template and click Delete template at the bottom of the card. The Default message cannot be deleted, which is why that button is not there when you have it selected.
Group text templates
A group text goes to several people in one thread. Names cannot be filled in, because one message is reaching ten different people, so a group template is written generically.
You mark a saved template as a group one:
- Click the chip for the saved template you want to use for group texts, or make a new one.
- Tick the checkbox under its name that reads Use this for group texts — one thread to several artists, no names.

- Write the message without any name placeholders. Date, time, city, service and pay all still fill in normally.
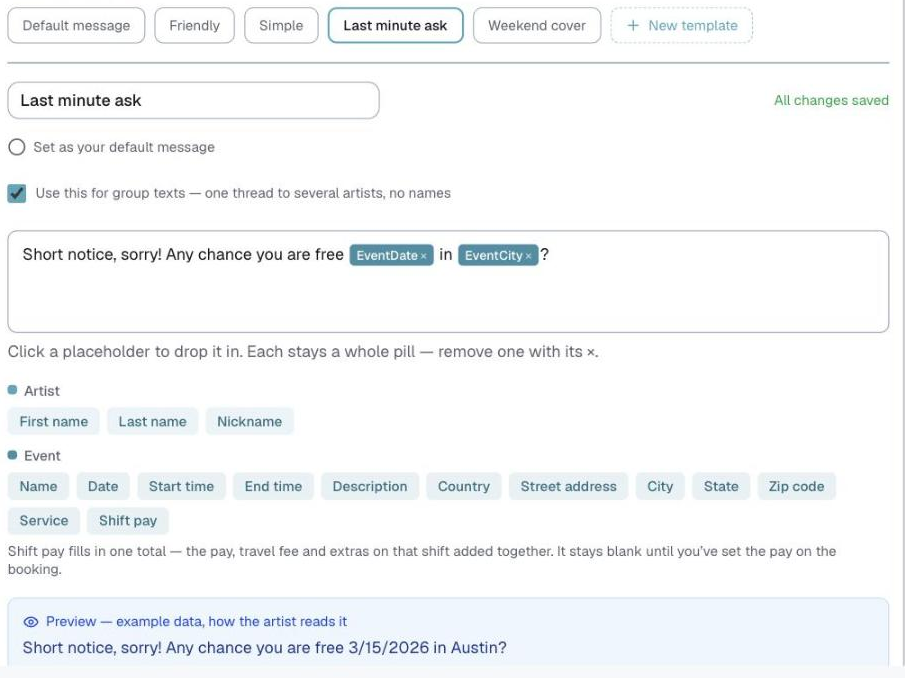
- Wait for All changes saved.
⚠️ Name placeholders are blanked, not warned about. If you leave a first-name pill in a group template it sends as nothing at all, so a message reading "Hi [first name]!" goes out as "Hi !". Write the greeting without one.
⭐ You can mark as many templates as group templates as you like. A marked one still shows in the single-artist dropdown too, so give it a name that tells you which is which.
One setting that covers every message
Below the Preview there is a switch: Leave the year off dates. Turned on, dates in the messages you send read as 3/15 rather than 3/15/2026.
It applies to every contact message you send, saved templates included. It changes nothing on screen anywhere in Logidex.

Using a template on one person
This is Match & assign, on a shift.
- Open the booking and go to the shift you are staffing.
- In the match list, find the person you want and click Contact on their row.

- The message is already written, using your Default message with that person's details filled in.
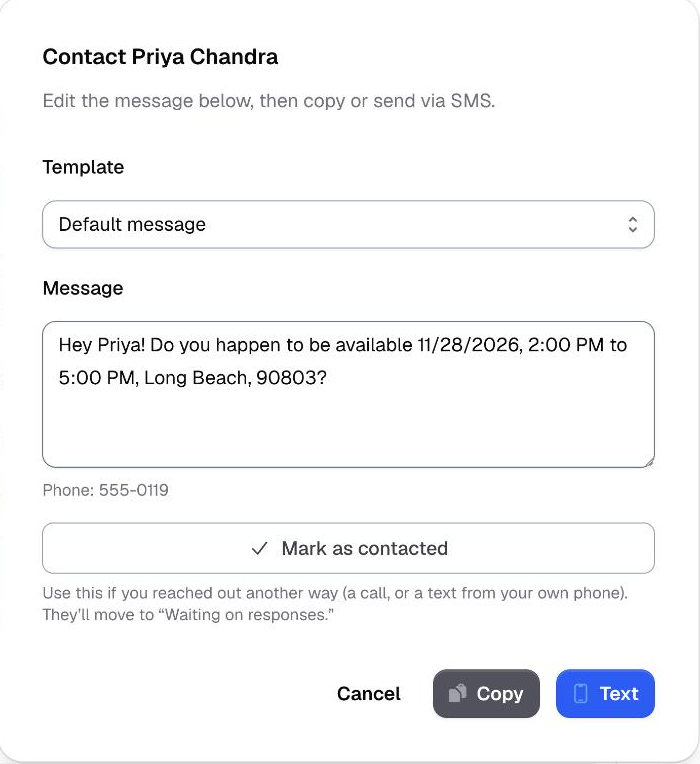
- To use different wording, open the Template dropdown at the top of the window and pick one. The message underneath rewrites itself immediately, with the same details filled into the new wording.
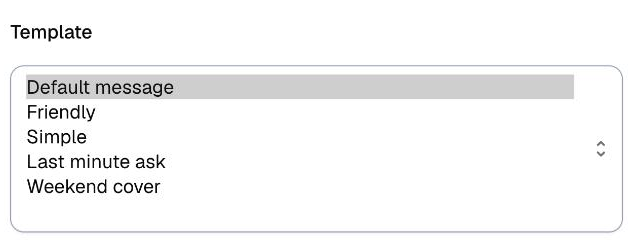
- Edit the message by hand if you want to. Typing in it changes only this one message and never touches your saved template.
- Then take one of three actions:
- Copy puts the message on your clipboard to paste wherever you like.
- Text opens your messaging app with their number and the message already in it. It is grayed out if there is no phone number on their card.
- Mark as contacted is for when you reached out another way, like a phone call.
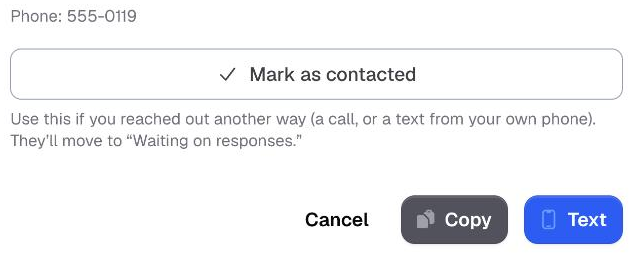
All three move that person into Waiting on responses, so you can see who you are still waiting to hear from.
Using a template on several people at once
- In the match list, tick the checkbox at the left of each person you want in the thread. The checkbox is grayed out for anyone with no phone number on file.
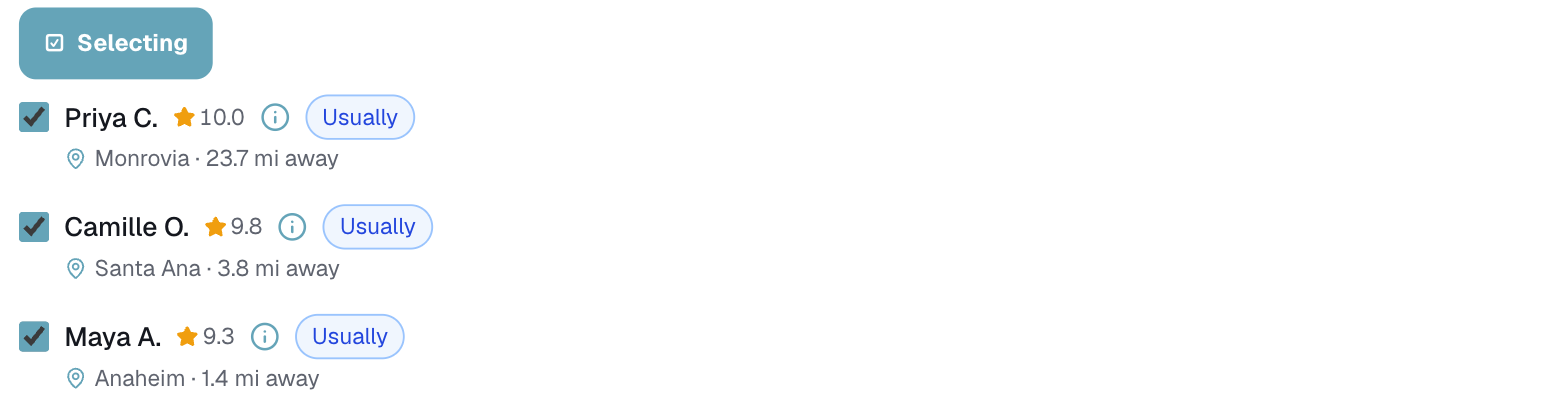
- A bar appears under the list showing how many you have selected. Click Group text.

- The group window opens. Open the Template dropdown at the top and pick one. It lists only the templates you marked as group texts, plus Default group message, which is Logidex's own generic wording.
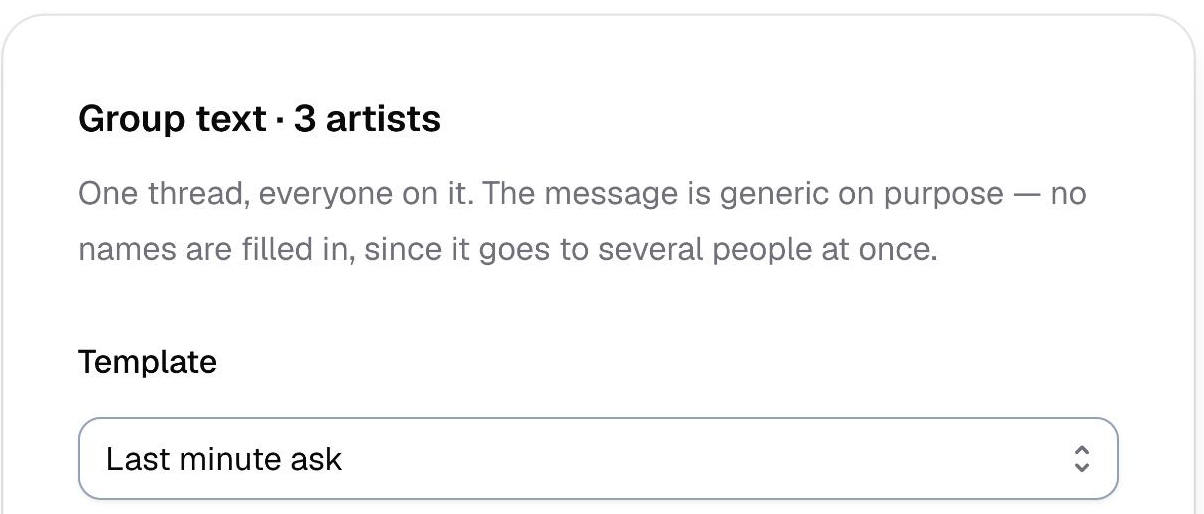
- Read the Going to list underneath. It names everyone getting this text and the number it is going to. Anyone without a number is called out in an amber panel and is left out entirely.
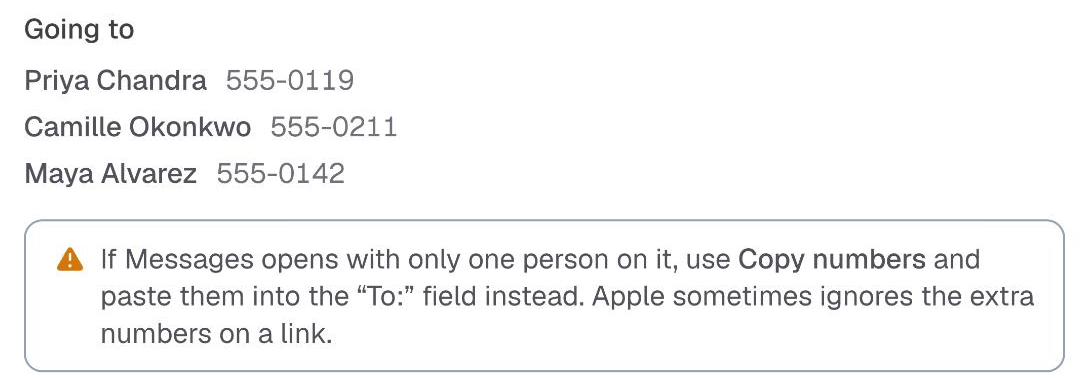
- Then pick how to send it:
- Text all opens your messaging app with everyone on one thread.
- Copy numbers puts all their numbers on your clipboard, ready to paste into the To: field.
- Copy message puts the wording on your clipboard.
- Mark all as contacted logs them without sending anything from here.
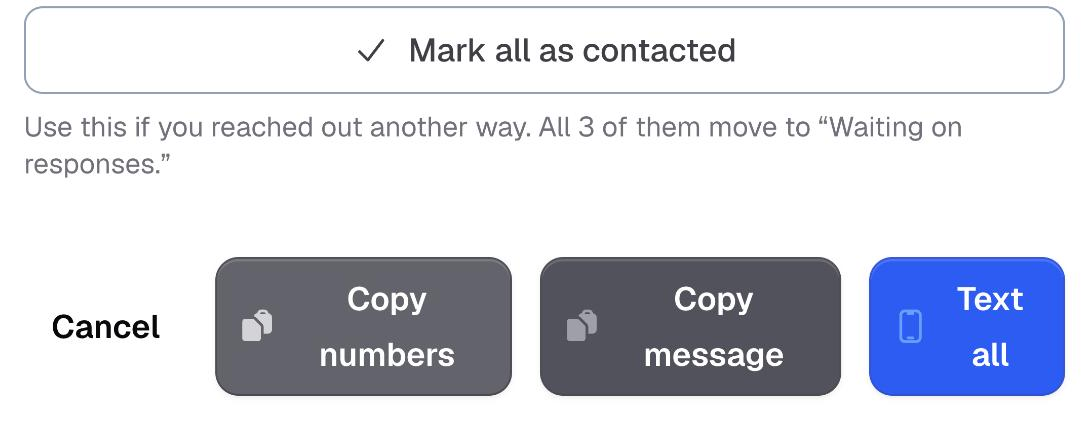
Whichever you use, everyone with a number moves into Waiting on responses together.
If you have no group templates saved
Nothing breaks. The group window uses Logidex's built-in wording and shows a line pointing you at Customize → Contact, so you can set your own version once and stop thinking about it.
Last updated